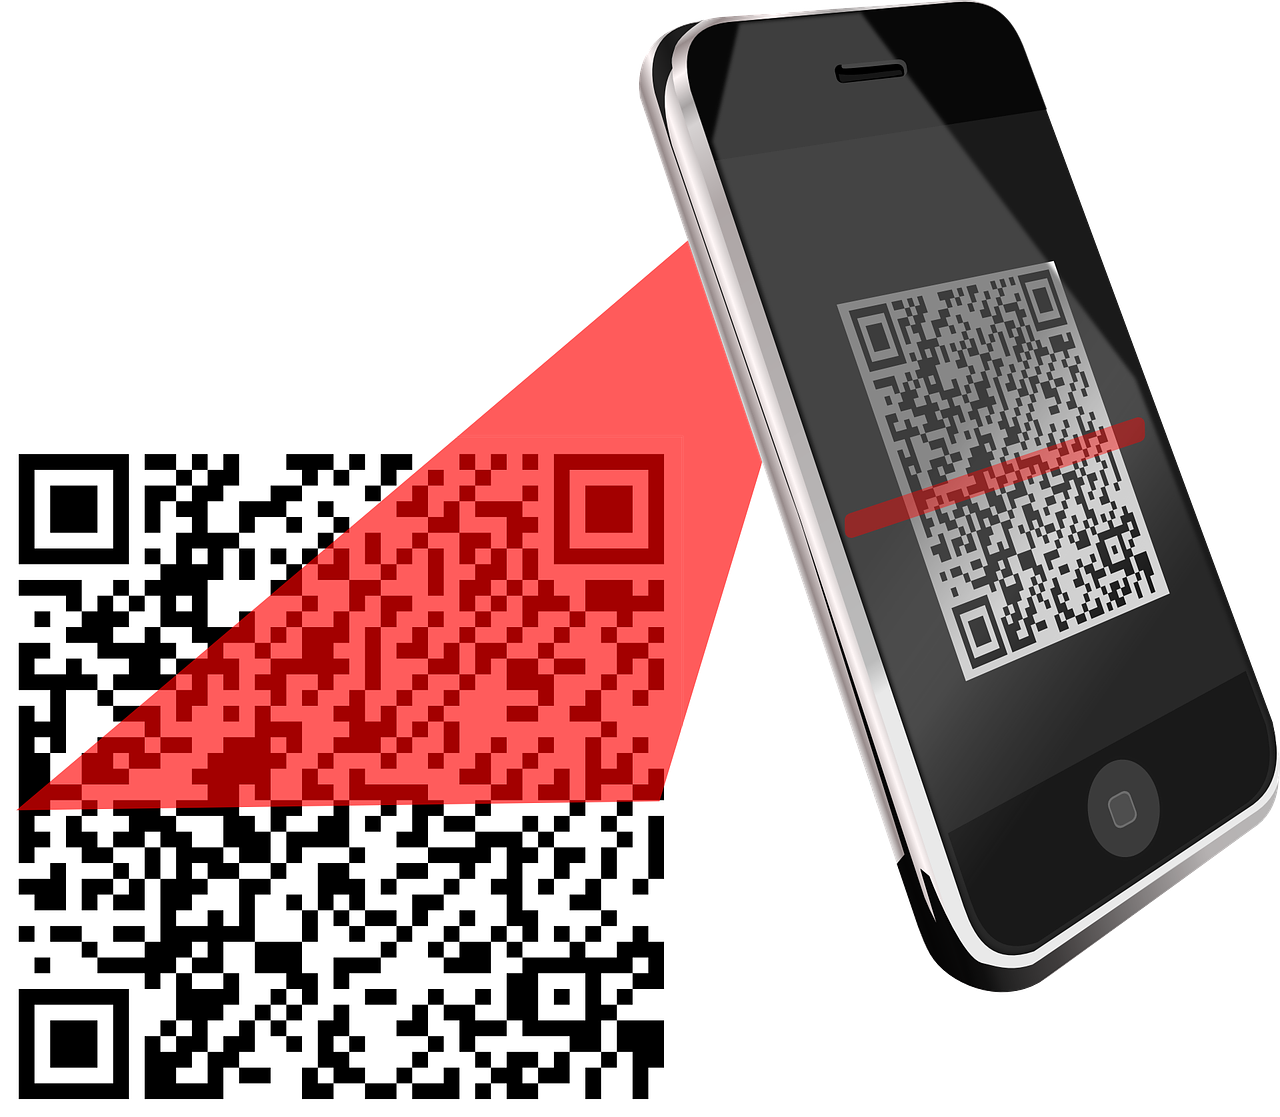
In today’s digital age, scanning and sending documents has become an essential task for many individuals. Whether you need to send a signed contract, a medical form, or any other important document, your iPhone can serve as a convenient and efficient tool to accomplish this task. In this comprehensive guide, we will explore various methods to scan and email from iPhone.
Why Scan and Email from Your iPhone?
The traditional method of scanning documents using a bulky machine connected to your computer is no longer the only option. With the advancement in smartphone technology, your iPhone provides a portable and accessible scanning solution. By utilizing your iPhone’s camera and the right apps, you can easily convert physical documents into digital files and send them via email without the need for any additional equipment. This not only saves time but also simplifies the document management process.
Method 1: Utilizing the Notes App
The Notes app, pre-installed on your iPhone, offers a built-in document scanning feature that allows you to capture, edit, and send scanned documents seamlessly. Here’s how you can use the Notes app to scan and email documents:
- Launch the Notes app on your iPhone.
- Create a new note by tapping the “+” icon located at the bottom right corner of the screen.
- Tap the camera icon within the note, and select “Scan Documents” from the options.
- Position your document within the camera viewfinder, ensuring that it is well-lit and properly aligned.
- The app will automatically detect the document and capture the scan. If necessary, manually adjust the scan by dragging the corners of the bounding box.
- If you need to scan multiple pages, repeat the previous steps until all pages are scanned.
- Once you have finished scanning, tap “Save” to store the scanned document within the note.
- To send the scanned document via email, tap the ellipsis (…) icon in the top right corner of the screen within the note.
- Select “Send a Copy” and choose the mail icon to open a new email with the scanned document attached.
- Enter the recipient’s email address, add a subject, and any additional message if desired. Then, tap “Send” to send the email.
Method 2: Opting for Third-Party Apps
While the Notes app provides a convenient solution for scanning and emailing documents, there are numerous third-party apps available on the App Store that offer advanced features and functionalities. Here are a few popular options:
1. Microsoft Office Lens
Microsoft Office Lens is a powerful scanning app that allows you to capture and digitize documents, whiteboards, and even handwritten notes. It offers various features such as cropping, enhancing, and converting images to PDF or Word files. To scan and email a document using Microsoft Office Lens:
- Install the Microsoft Office Lens app from the App Store and launch it on your iPhone.
- Align the document within the camera viewfinder and tap the capture button to take the scan.
- Adjust the scan if necessary by using the cropping and editing tools provided.
- Once you are satisfied with the scan, tap the save button to store the document.
- From the main screen of the app, select the scanned document and tap the share button.
- Choose the “Email” option to open a new email with the scanned document attached.
- Enter the recipient’s email address, add a subject, and any additional message if desired. Then, tap “Send” to send the email.
2. Adobe Scan
Adobe Scan is another popular scanning app that offers advanced features and seamless integration with the Adobe ecosystem. It allows you to capture, edit, and share documents effortlessly. To scan and email a document using Adobe Scan:
- Install the Adobe Scan app from the App Store and launch it on your iPhone.
- Position the document within the camera viewfinder and tap the capture button to take the scan.
- Adobe Scan will automatically detect the document and enhance its quality for optimal readability.
- If needed, you can manually adjust the scan by selecting the cropping and editing options provided.
- Once you are satisfied with the scan, tap the save button to store the document.
- From the main screen of the app, select the scanned document and tap the share button.
- Choose the “Email” option to open a new email with the scanned document attached.
- Enter the recipient’s email address, add a subject, and any additional message if desired. Then, tap “Send” to send the email.
Tips for Scanning and Emailing Documents
Here are some additional tips to ensure the best results when scanning and emailing documents from your iPhone:
- Choose a well-lit environment: To capture clear and legible scans, make sure you have adequate lighting. Natural light or a well-lit room can greatly improve the quality of your scans.
- Keep the document flat and aligned: Place the document on a flat surface and ensure that it is properly aligned within the camera viewfinder. This helps to avoid skewed or distorted scans.
- Review and edit the scan: Before sending the scanned document, take a moment to review the scan and make any necessary adjustments using the editing tools provided by the scanning app.
- Choose the right file format: Consider the recipient’s requirements when selecting the file format for the scanned document. PDF is the most commonly used format for sharing documents as it maintains the layout and formatting across different devices and platforms.
- Check the file size: Depending on the app and settings used, scanned documents can sometimes result in large file sizes. Ensure that the file size is reasonable for email attachments to avoid any issues or delays in sending.
With these tips in mind and the scanning methods outlined in this guide, you can confidently scan and email documents directly from your iPhone. Embrace the convenience and efficiency of digital document management, saving time and eliminating the need for physical copies. Make sure to choose the method and app that best suits your needs and enjoy the seamless process of scanning and emailing documents with your iPhone.


